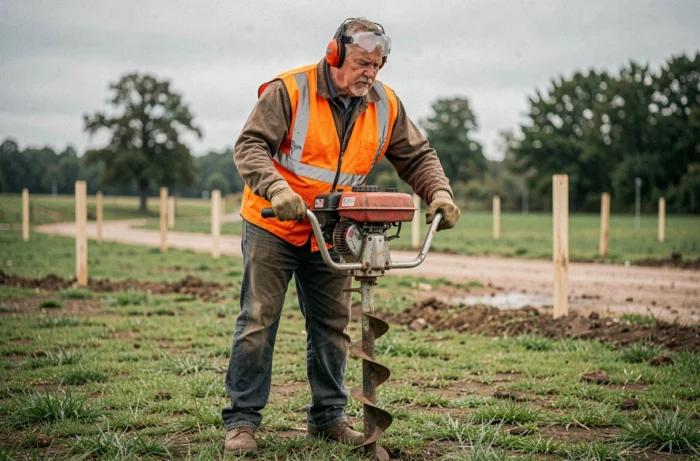
You have fence posts to install, trees to plant, or light foundations to prepare. A gas-powered auger gets the job done in minutes where a spade would take hours. But this powerful rotary tool requires careful preparation of both the site and the operator. Before you even pull the starter cord, several checks are essential to ensure successful drilling and your safety.
Underground utilities and gas-powered augers: check the location before drilling
Have you ever noticed those small colored stakes along sidewalks? They indicate the presence of gas pipes, electrical cables, or water lines underground. When drilling in your garden or on a plot of land, these utilities may be buried at a shallow depth.
A visual inspection of the site is never enough to guarantee that there are no underground utilities. Regulations require specific procedures, known by the acronyms DT (declaration of a works project) and DICT (declaration of intent to commence works). These procedures allow you to obtain plans showing the utilities beneath the property.
One challenge remains: no single detection method can locate every type of utility. The type of utility (electrical, gas, or telecom), its depth, and the composition of the ground all affect how reliably it can be located. Combining several techniques helps pinpoint its location more accurately. If you are still unsure after checking the plans, the best practice is to stop drilling rather than continue blindly.
Ground markings, made with paint or stakes, must remain visible throughout the project. If rain or passing machinery erases the markings, restore them before using the auger again. This guide to using a gas-powered auger explains the practical steps for getting started once the site is safe.
Prepare the ground and choose the right auger bit
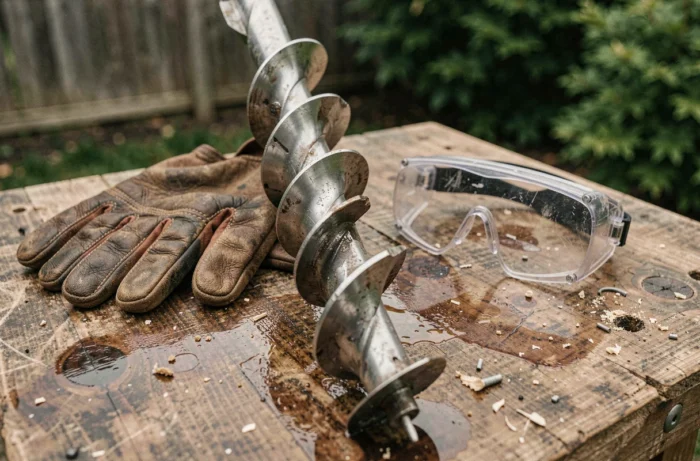
The bit is the helical part that penetrates the ground. Its diameter and shape determine the size of the hole and how well it can cut through the soil. Choosing the wrong bit means forcing the tool, which wears out the engine and makes the job harder.
Match the bit to the type of soil
Loose, sandy soil can be drilled with a standard bit. Clay or compacted ground calls for a reinforced bit with more aggressive teeth. Rocky ground and concrete are unsuitable for a gas-powered auger, which works by rotation rather than impact.
Before starting, inspect the drilling area. Remove surface stones, exposed roots, and any obstacles that could jam the rotating bit. A stone caught in the bit can cause a violent jolt that is transmitted directly to the operator’s arms.
Hole diameter and depth
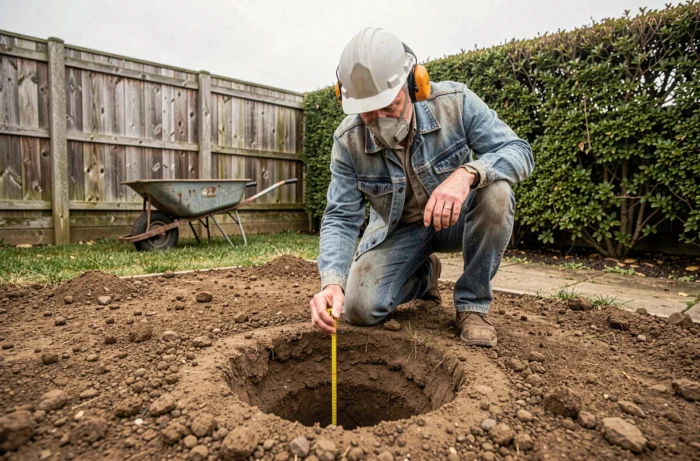
Choose the bit diameter to suit your project. A standard fence post requires a narrower hole than a tree with an extensive root system. Also check the maximum depth your auger model can reach. Some machines can be fitted with extensions to drill deeper, but each extension increases the resistance torque and makes the tool harder to handle.
Operator protection and drilling stance when using an auger
A gas-powered auger generates rotational torque that can catch even an experienced user off guard. If the bit hits a root or stone, the tool may suddenly twist. Your body must be ready to absorb this force.
Stand with your feet shoulder-width apart and your knees slightly bent. This low stance lowers your center of gravity and helps prevent you from losing your balance. Grip both handles firmly, keeping your arms slightly bent to absorb vibrations.
Protective equipment is essential. At a minimum, you need:
- Safety glasses to protect against flying soil and small stones thrown up by the rotating bit.
- Anti-vibration gloves to reduce hand fatigue and improve your grip on the handles.
- Hearing protection (earmuffs or earplugs), since a gasoline engine produces high noise levels over the course of a job.
- Safety shoes with reinforced toes to protect your feet if the auger slips or falls.
No one should stand close to the rotating bit. Mark out a work zone and make sure children, animals, and anyone else nearby keep their distance.
Drilling technique: starting, digging, and removing the bit
Starting a gas-powered auger is similar to starting a brush cutter. Set the tool on the ground, with the bit pointing down at the marked spot. Engage the choke if the engine is cold, then pull the starter cord sharply. Never lift the auger into the air to start it.
Drill in successive stages
Drive the bit about four inches into the ground, then lift it to clear the soil that has built up along the flight. This up-and-down motion prevents the bit from getting stuck. Drilling straight down to the final depth in one go is the most common beginner’s mistake. Compacted soil around the bit creates resistance that can stall the engine or cause a dangerous jolt.
Keep the auger vertical throughout the operation. A slanted hole makes it harder to install the post or other intended item. If the bit starts to veer off course, lift it and start again from the surface, correcting the angle.
Stop drilling if you encounter unusual resistance
If the bit hits a hard obstacle and the engine strains without making progress, release the throttle immediately. Forcing the bit out can bend the shaft or break its teeth. Remove it in reverse if your model allows, or by hand with the engine off.
An unexpected obstacle may also indicate an underground utility that was not identified during the initial survey. If this happens, stop work and investigate before continuing.
Maintaining your gas-powered auger after use
Clean the bit after every drilling session. Dried soil on the flight can throw off its balance the next time you use it and accelerate corrosion. A spray of water and a brush are all you need.
Check the condition of the bit’s teeth. Blunt teeth make the engine work harder, increasing fuel consumption and shortening the machine’s service life. Replace a worn bit rather than forcing the engine.
Drain the fuel if you plan to store the auger for several weeks. Stale gasoline can clog the carburetor and make the engine difficult to restart. Store the tool in a dry place, with the bit protected by a sheath or a thick piece of cardboard.
A gas-powered auger is a reliable tool as long as you follow every step: survey the site, choose a bit suited to the soil, maintain a stable stance, and drill gradually. A well-prepared job gets done faster than one where mistakes have to be corrected along the way.